
This page contains affiliate links. This means that we may get a small commission for recommending products, if you choose to click on something and buy it. This does not cost you anything, but we wanted to be honest and let you know!
(Last Updated On: 18th February 2023)Have you ever considered using a scratchboard or scratchpad for dogs to trim their nails? Many dogs detest getting their nails trimmed and will run and hide, but they may enjoy using a scratchpad on their own.
Using scratchboard can be a pleasant experience for your pooch instead of a traumatic one.
Table of Contents
What Is a Dog Scratch Pad or Board?
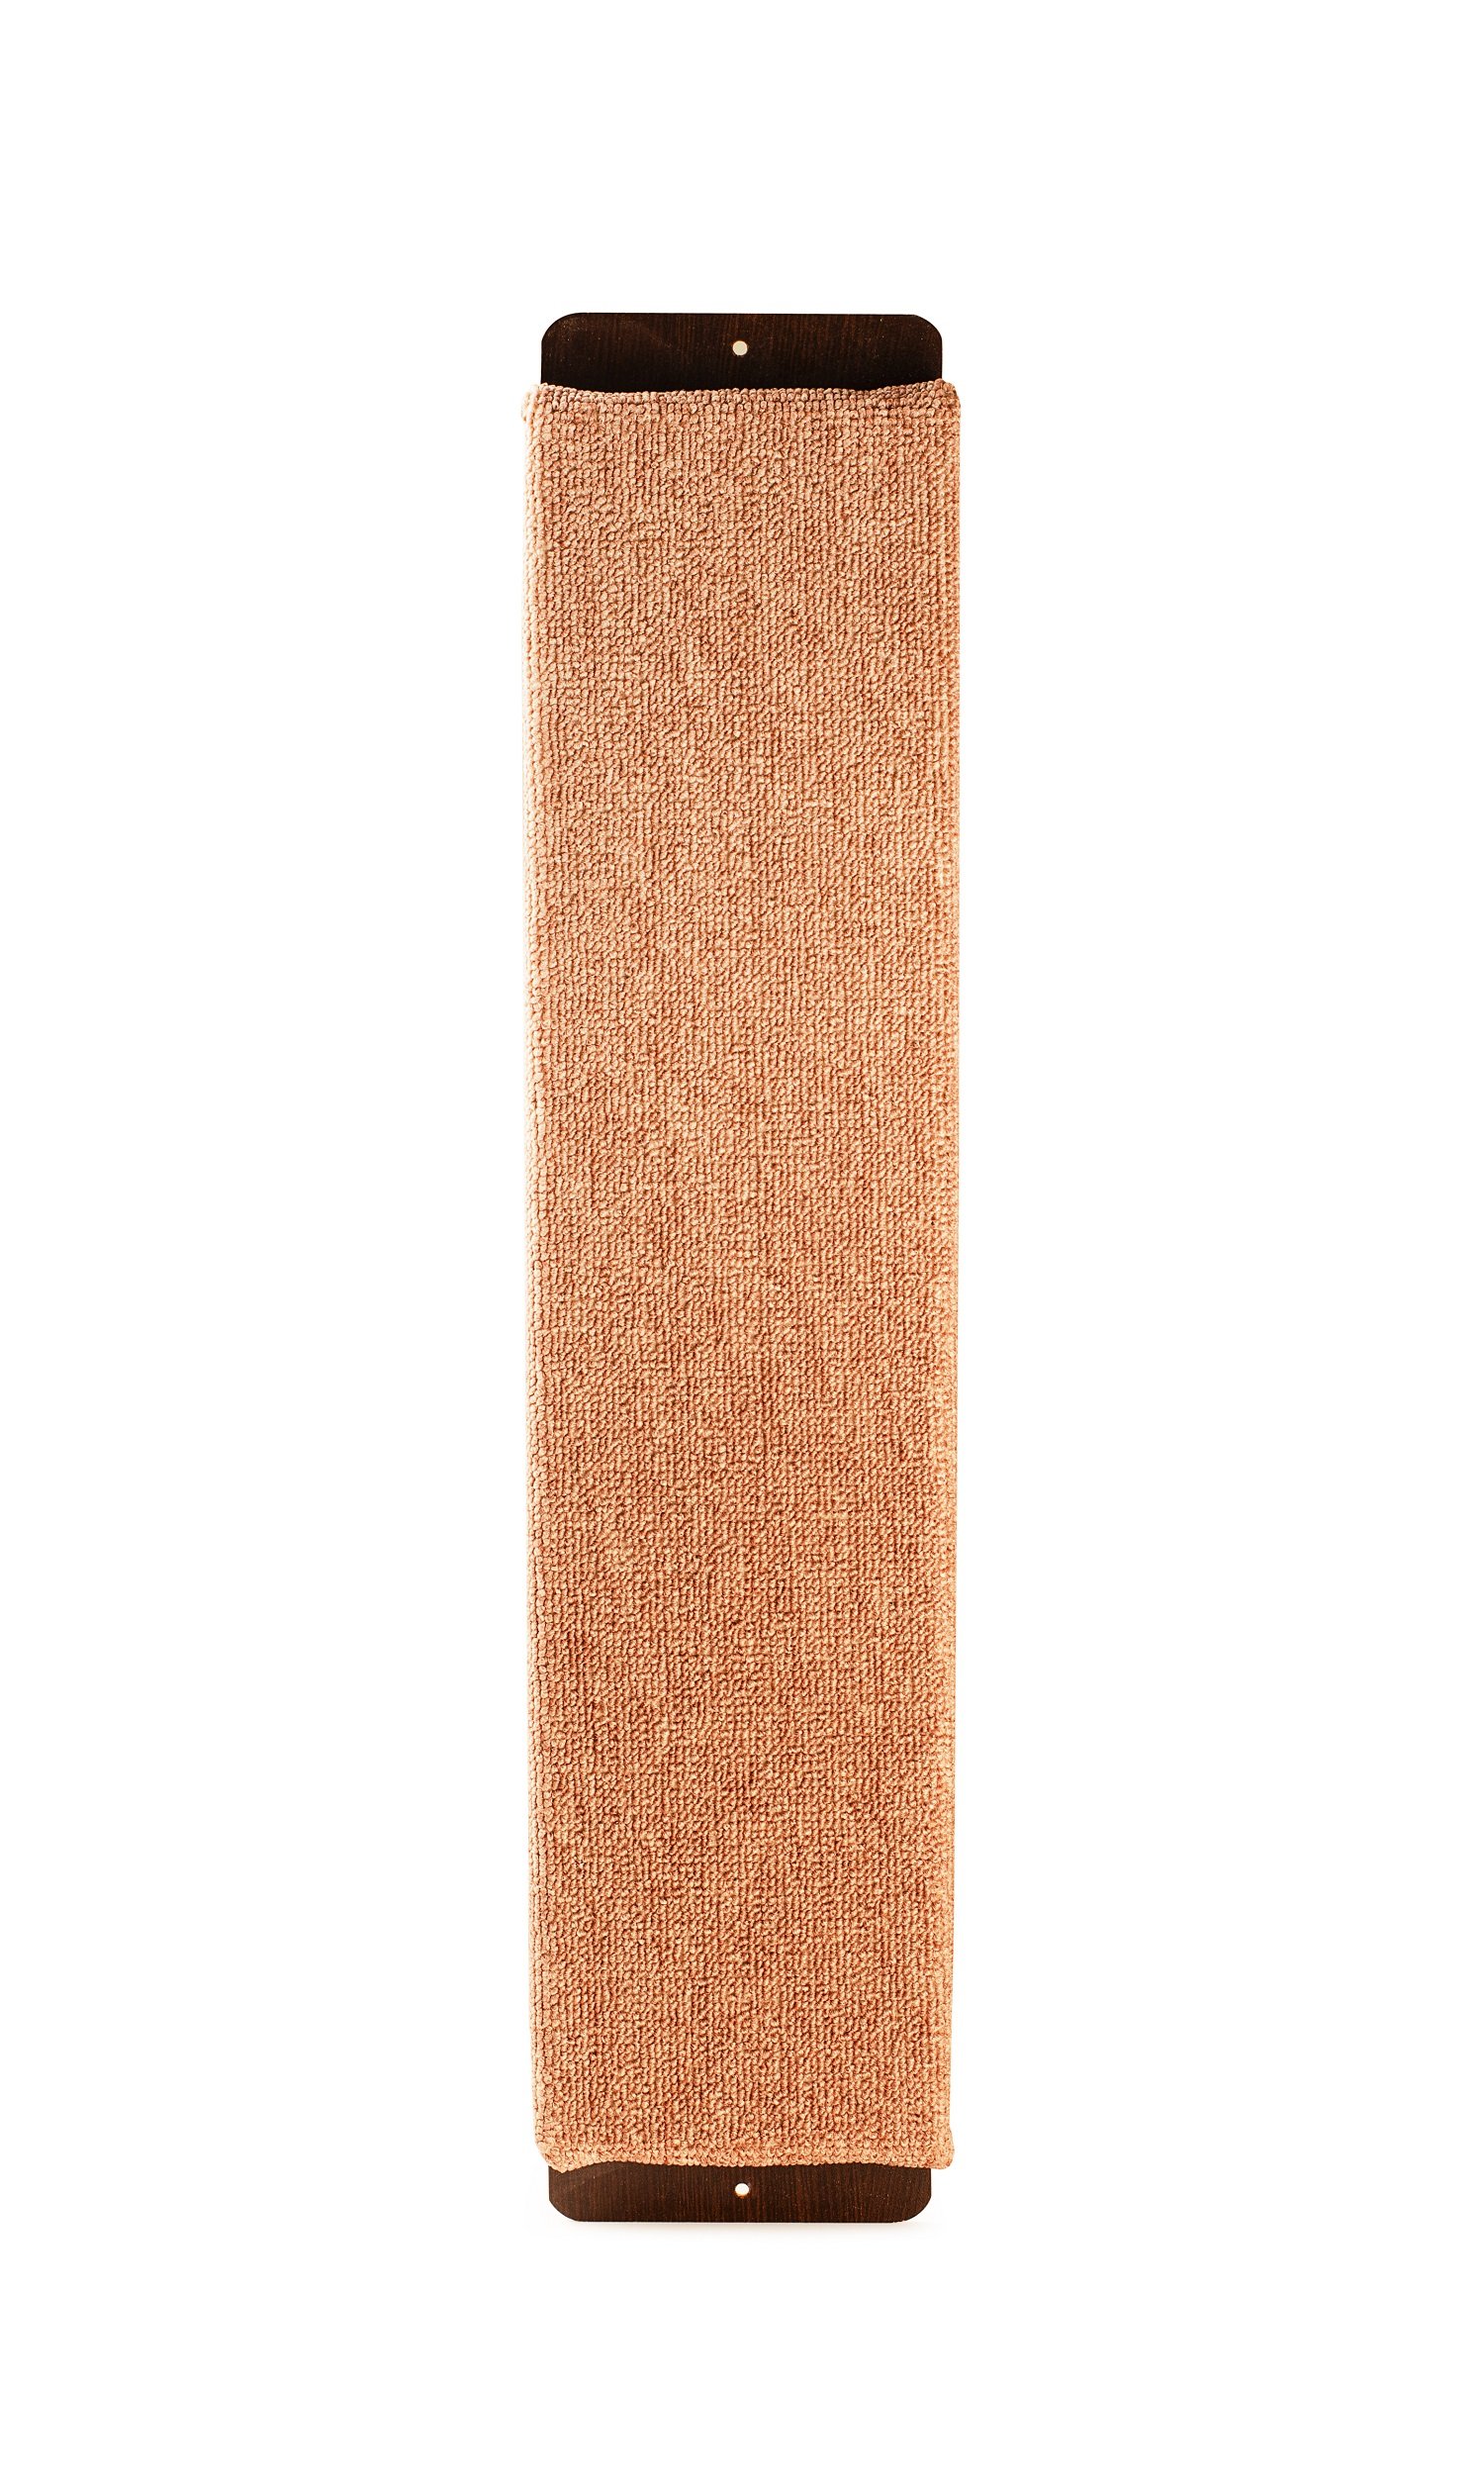
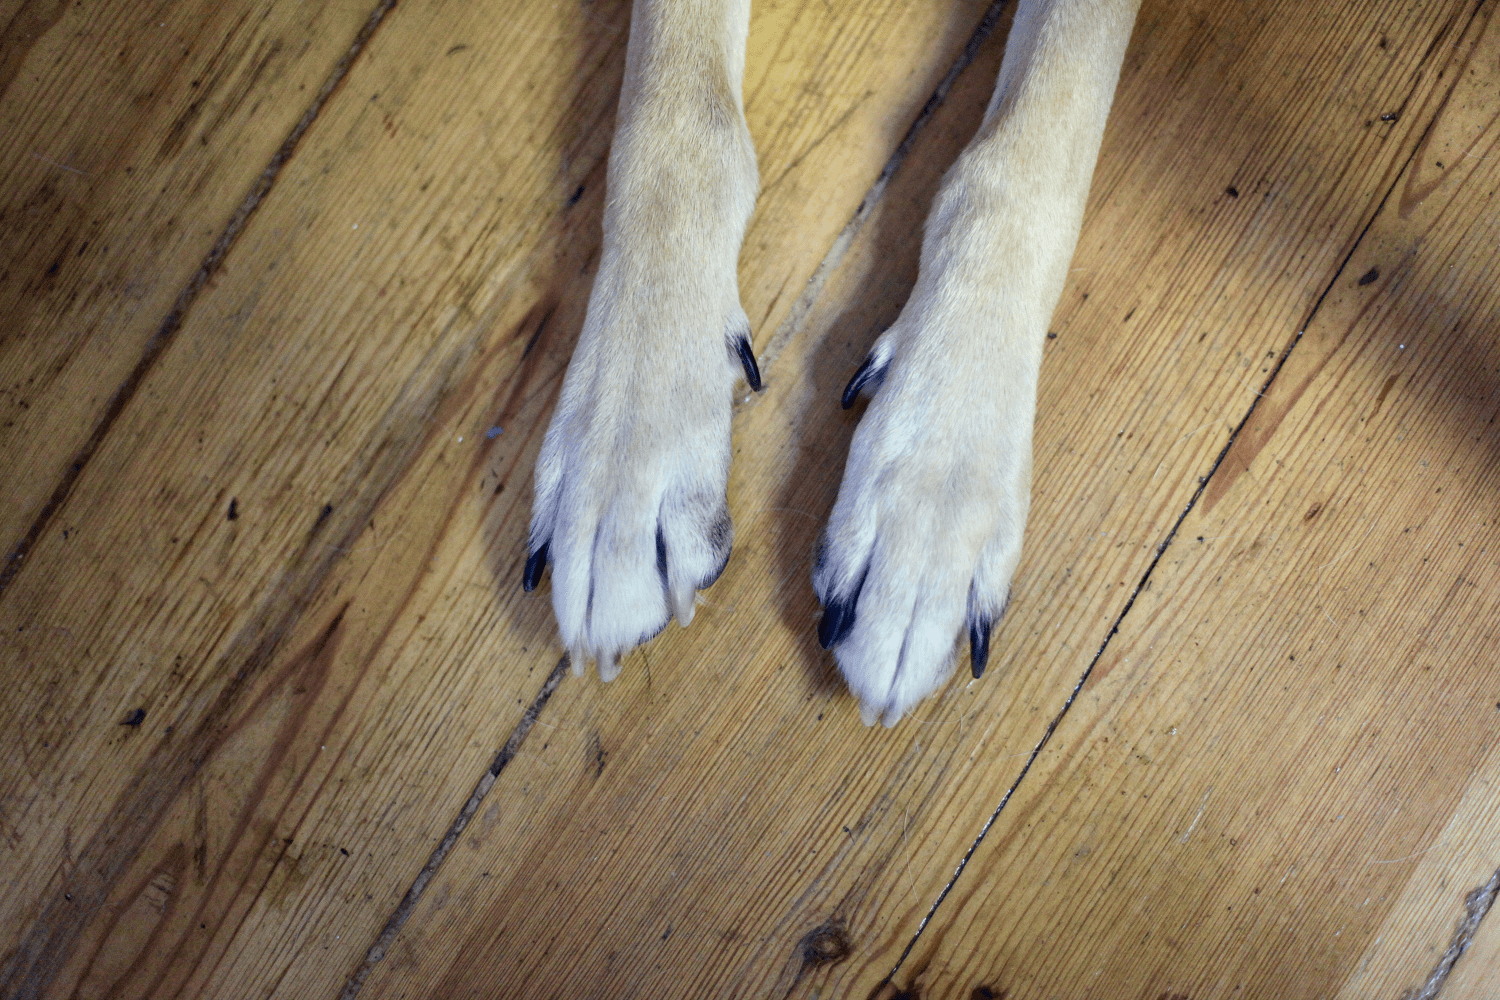
A scratchboard is a piece of wood or a thick plastic that is either square or rectangular and covered with sandpaper to give it a gritty surface.
There are also scratch boards made from two-by-four pieces of lumber or PVC pipe cut in half.
The dog uses the board by scratching at it with their paws, and in the process, their nails get trimmed.
How To Build A Dog Scratchboard or Scratchpad
Building a dog scratchboard is a simple operation. The most common material used is a piece of wood.
You can visit your local home improvement store, where you will be able to find various sizes of wood.
Consider the size of your pet when choosing the size of the wood you will want. Most people use a board that is about a foot wide and about 30 inches long.
Joyce shows you have she made hers in this video DIY SCRATCH BOARD-MAKE ONE FOR YOUR DOG.
The size is really up to you. Other people have used boards that are only slightly bigger than a sheet of notebook paper.
Here is one of those smaller boards: DIY scratch board. One pet owner simply used a two-by-four, and it worked nicely for her dog.
You can also use plexiglass or plastic, as long as they are thick enough to withstand the dog’s pressure on the material.
PVC pipe is another option for using a scratch board. It is rigid and sturdy. Pet owners who use the PVC option feel that it gets the dog’s side nails better than a flat surface will.
This pet owner shows how to teach your dog to use one of these and how she made it herself: Teach Your Dog to Use a PVC Scratch Board.
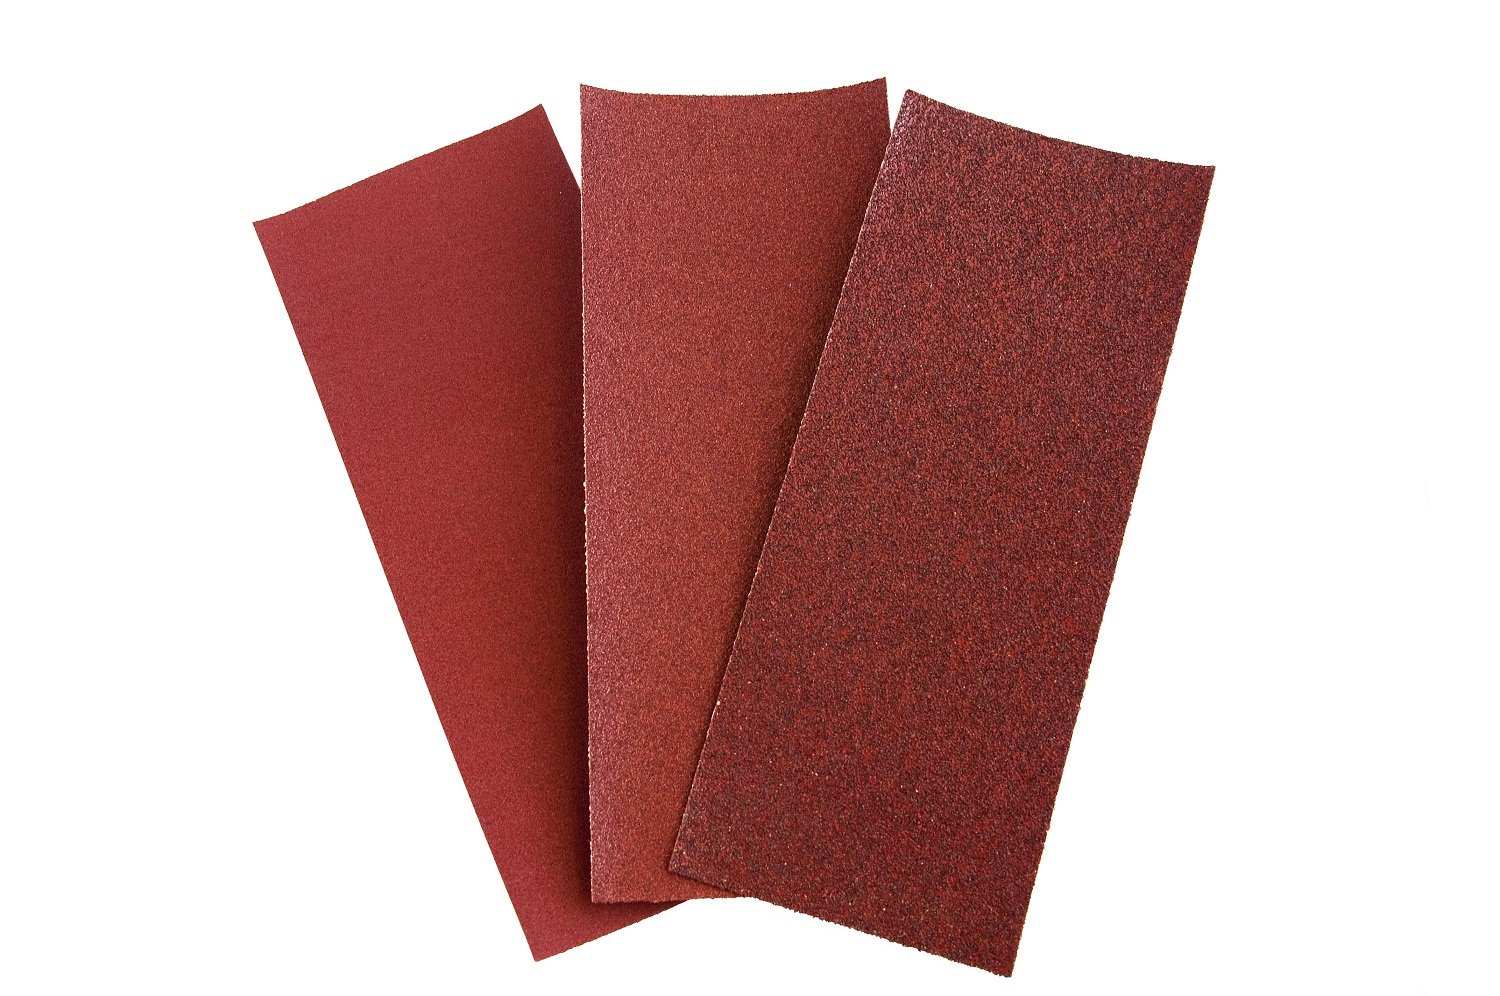
Use The Correct Grit Sandpaper
When making DIY scratch boards, the most important item will be the sandpaper itself. You would not want to get too coarse a grit and take the chance of damaging your pet’s paws.
The majority of DIYers use a grit of 80 or above. The lower the number of grit, the coarser it is.
The higher number, the finer the grit on the sandpaper becomes. Others have used the material put on stairs to make them non-slip.
There are also various ways of adhering to the sandpaper to the board you are using. Some material has an adhesive backing.
There is spray adhesive that comes in a can and can be used to adhere to the sandpaper. Stapling is an option, and good old fashioned duck tape will also do the trick.
If you have questions about the number grit of the sandpaper, consult with your vet as to their opinion.
Dog Scratch Board Techniques
One of the first techniques you will use is to present the tool so that the dog becomes familiar with the scratch board.
You can set the board on the floor and allow your pet to smell around the board and make up their mind that it is a safe object.
Once they have accepted the scratch board as part of their “safe” world, it is easy to introduce them to using the board.
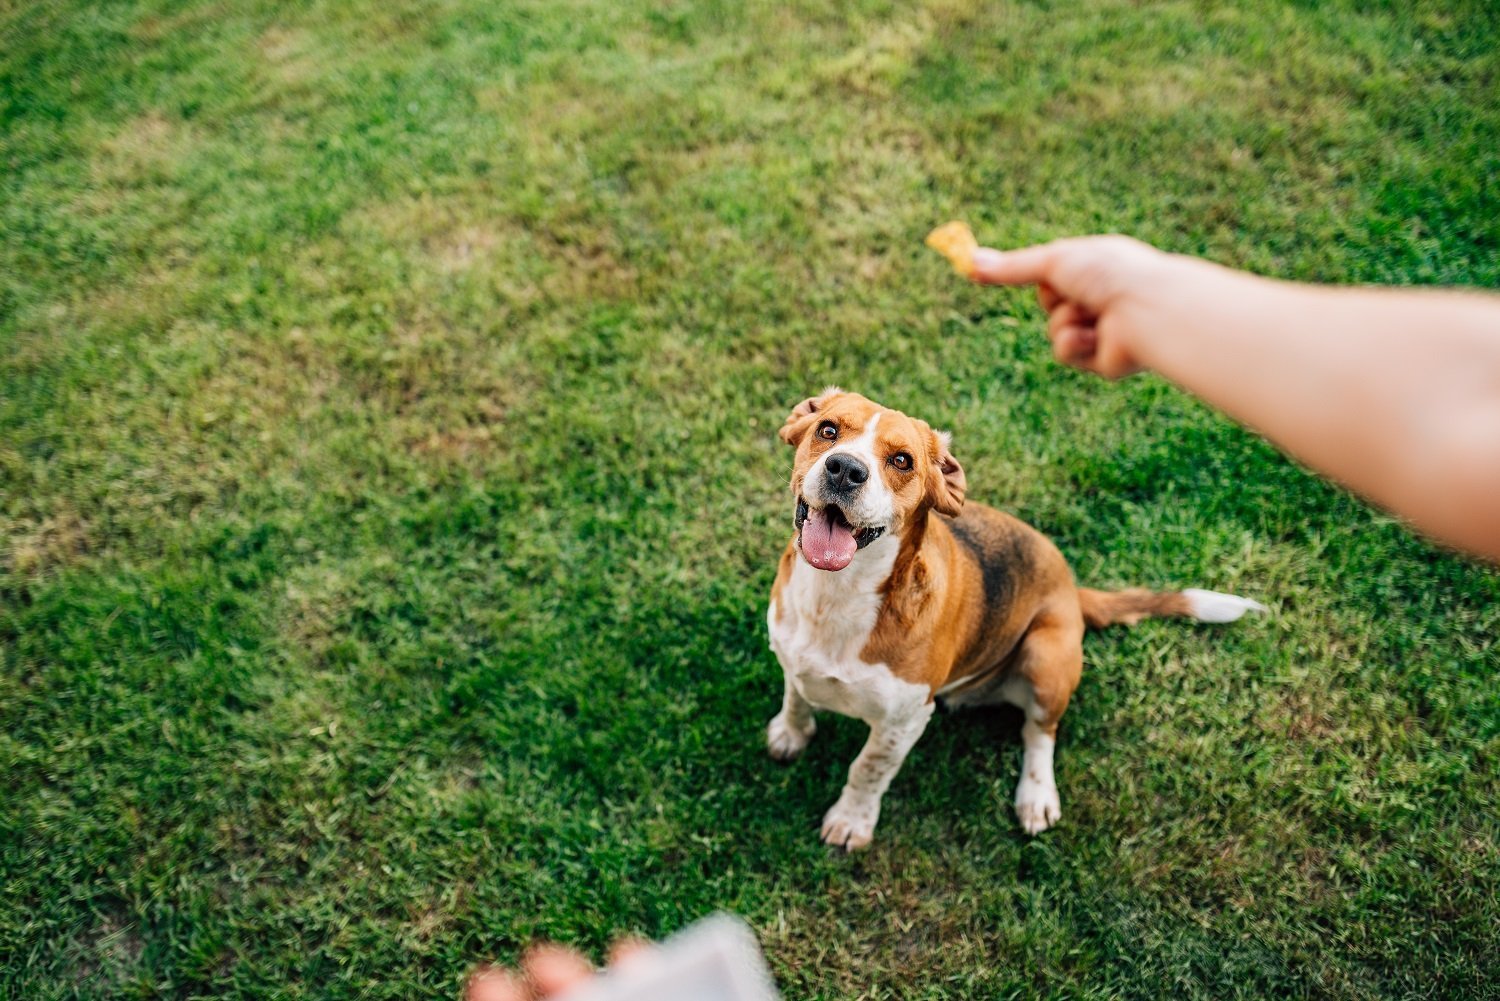
Remember that dogs will repeat behaviors that get them what they want. The positive reinforcement technique focuses on rewarding your pooch for the action that you want to see.
For example, if you reward your dog every time you ask them to sit, your dog will be more likely to sit in the future, too.
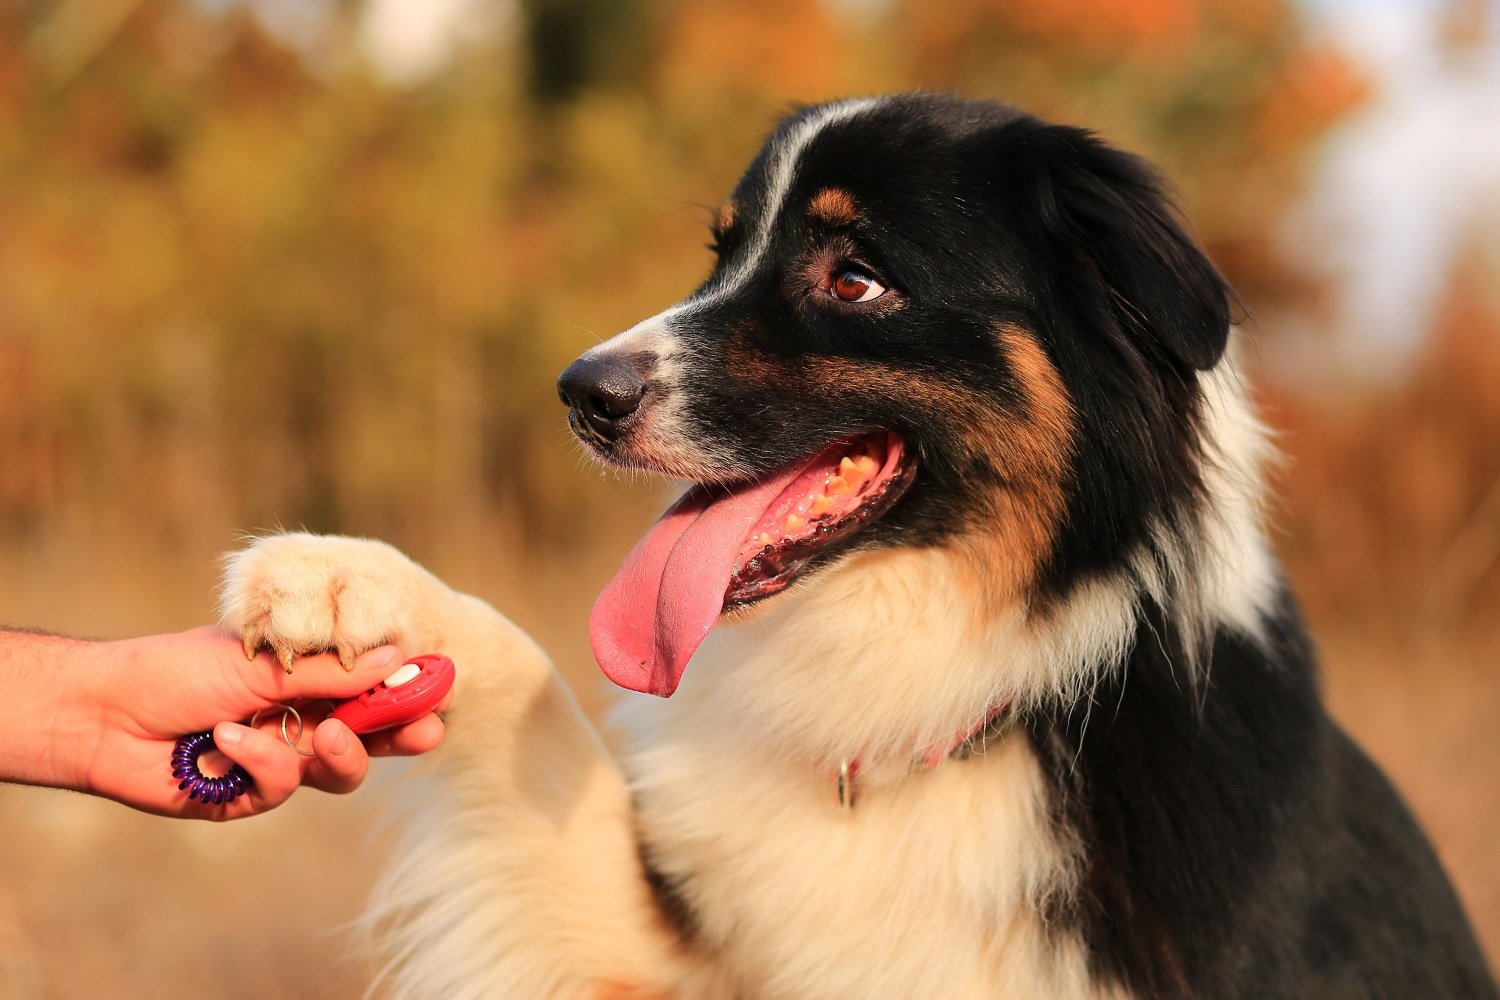
Clicker Training
A clicker can be used as a technique to train your dog. It is also called mark and reward, with the clicker being considered the mark. The clicker itself is just a small mechanical noisemaker.
As mentioned before, the mark and reward technique builds on the idea that rewarded behaviors are more likely to be repeated in the future.
The value of using a clicker is that your dog will know what behavior you are rewarding. When you click at the right time, you “mark” the moment, your dog did what you wanted.
You can learn more about clicker training from the American Kennel Club, who tells you how to use clicker training to communicate with your dog.
Do-It-Themselves Dog Nail Care
Many pooches get anxious and scared when the clippers come out. They don’t like the sound of a Dremel or the loud sound when a nail gets clipped with a set of manual clippers.
Some pet owners resort to having the vet or groomer do their pet’s nails as it is just too nerve-racking for them to do it themselves.
While that is handy for the pet owner, the poor pooch does not appreciate the vet or groomer’s visit.
That is why the scratch board is an excellent way of having your dog “do-it-themselves.”
The board is at home, their place of comfort, it doesn’t make loud noises, you aren’t holding their paws, and they get a reward for using it!
It is a win-win for all concerned.
Teaching Your Dog To Use The Scratch Board
You can train your dog to use scratchboards by rewarding them every time they put their paw on the board.
Place the board wherever you are going to want to be using it regularly. When you see your dog touch the board, give them praise and a small training treat.
Use the smaller treats, like these: The Best Dog Treats For Training 2020 [Healthy & Grain Free Bites].
Do this same procedure twice a day for a few minutes at a time. Your pooch will gradually understand that touching the board gets them a reward.
Be patient as this learning process continues.
Once your pet has the right idea, lean the scratch board against your leg or a piece of furniture.
It will need to be something that will support the board and not allow it to fall but hold it firmly in one place.
Repeat the procedure with your pet of touch and reward with the scratch board in the new position. They should pick up on this part of the exercise quickly.
Be Patient And Consistent
This next part of the process may take a bit of time, and you may need to move their paw for them at first so that they get the idea.
When they move their paw down the board, and you hear a scratching sound, this is when your pet has learned to file their nails! Give lots of praise and a treat.
Remember that the point is to scratch the nails, not to rub the pads along the scratch board.
Once you feel that your dog is getting the idea, you can add the word “scratch” so that they start pairing the action with the word. They also know that a treat is coming too.
Here is a tutorial from a dog trainer on how exactly to train your smart pet to use a scratch board: How Do I Teach My Dog to File Its Nails?
Using a Dog Scratch Board With Treats
The type of dog treat you want to use with your scratch board is a training treat.
These are the small bite-size treats that your dog loves the flavor of but doesn’t add lots of calories to their diet. The Best Dog Treats For Training 2020 [Healthy & Grain Free Bites.
Where To Place Dog Scratch board At Home
Some owners choose to hold the board against their leg as the dog uses the board. That way they can monitor the process and have treats ready.
You can lay the board flat on the floor or propped against a couch or chair. The position is up to you and where you find it handiest for your pet.
Using the scratch board is an activity that you will monitor to ensure that your pet is doing the exercise correctly and achieves its nails.
You don’t want this to become a toy that your dog thinks gives out treats for playing with it.
When you do not use the board as part of your pet’s grooming process, keep the board out of sight in a closet or cupboard and bring it out when it is time to file their nails down.
Your pet will get to know precisely what the board is for and look forward to filing their nails!
Most dogs do not like to have their nails clipped, and the process can be upsetting and make them anxious.
You can relieve that anxiety and make nail trimming a fun and pleasant experience for both you and your pet by using scratch boards for your dog.
FAQ
What happens if you never cut your dog’s nails?
A dog’s nails will grow longer and longer. They will cause the dog to experience discomfort and pain.
Left alone long enough, a dog’s nails will inhibit the dog to the point that it will not walk properly.
Does it hurt a dog to use a scratch board?
No, it does not hurt a dog to use a scratch board, as long as they are scratching with their nails only, and not the pad of their feet.
When training a dog to use scratch boards, make sure that you reward them when they only use their nails on the board.
How often should I replace my dog’s scratch pad?
The frequency with which you need to replace your dog’s scratch pad will depend on how often it is used and how rough your dog is with it. As a general rule, you should replace the scratch pad when it becomes frayed or worn out.
Can you use sandpaper on your dog’s nails?
Yes, you can use sandpaper on a dog’s nails, but it will take a while to sand nails down.
Remember that the higher the grit number for sandpaper, the less abrasive the grit. A 30 – 40 grit paper will do the job once your dog gets used to the process.
Should you hear your dog’s nails on the floor?
The rule of thumb is that if you can hear your dog’s nails “click” on the floor when walking, it is time to trim their nails.
Watch when your dog walks, too, to see if they are having any difficulty that might indicate they are experiencing pain from too-long nails.
Why don’t dogs like to have their nails cut?
If your dog’s nail has ever been cut too close, it is a painful experience for them. If it happened once, your dog will remember that and get fearful that it will happen again.
Dogs can also be afraid of a loud Dremel being used, or even just from the sound that clippers make. It is best to try to keep them calm and reward them with a treat afterward.
Ian is an avid outdoorsman and dog lover. He lives in Central Florida with his wife Heather, and their 2 dogs – Panda (Purebread Rough Collie X English Golden Retriever) & Kuma (Blue Merl Purebread Rough Collie)


